Tutorial for usage of Pluto notebooks
![]()
In this post I want to give a tutorial on how to run Pluto notebooks to run simulations of gas chromatographic simulations. But first I want to introduce a new Github repository named GasChromatographyToolbox which will function as the central entry point for the simulation of gas chromatographic separations. In this repository a selection of interactive notebooks is collected. For now only a limited number of notebooks are available; further notebooks will be added in the future:
simulation_conventional_GC.jl… Simulation of GC separation in one capillary column using GasChromatographySimulator.jl. Retention data from RetentionData is used.simulation_thermal_gradient_GC.jl… Simulation of GC separation in one capillary column with a thermal gradient along the column using GasChromatographySimulator.jl. Retention data from RetentionData is used.estimate_retention_parameters.jl… Estimation of retention parameters from measured chromatograms.
Installing Julia
The latest stable version of the Julia Programming Language can be downloaded from: https://julialang.org/downloads/#current_stable_release Instructions for different operating systems can be found at: https://julialang.org/downloads/platform/
Using Julia
By double-clicking the Julia executable or running julia from the command line an interactive session Julia session is started in the terminal:
$ julia

               _
   _       _ _(_)_     |  Documentation: https://docs.julialang.org
  (_)     | (_) (_)    |
   _ _   _| |_  __ _   |  Type "?" for help, "]?" for Pkg help.
  | | | | | | |/ _` |  |
  | | |_| | | | (_| |  |  Version 1.10.2 (2024-03-01)
 _/ |\__'_|_|_|\__'_|  |  Official https://julialang.org/ release
|__/                   |

julia>
Here code can be typed in and by pressing ‘Enter’ it is executed and the result is returned in the next line.
julia> 1 + 2
3
The interactive session can be exited by typing exit() and pressing ‘Enter’.
For more information about the Julia programming language in general see here.
Installing Pluto
To use the available notebooks for the GasChromatographyToolbox a package has to be first added to Julia. This is done by using the package manager Pkg. Julia must be started as shown before. By entering ] the Pkg environment is activated, indicated by:
julia> ]
(@v1.10) pkg>
Here we can add the Pluto.jl package by
(@v1.10) pkg> add Pluto
The latest version of the Pluto package will be downloaded and registered with your Julia environment.
The Pkg environment can be exited by pressing Backspace in an empty line.
For more information about the Pkg environment see here.
Start a notebook
To start a notebook from the collection of GasChromatographyToolbox start Julia yy double-clicking the Julia executable or running julia from the command line. Then type in:
julia> import Pluto; Pluto.run()
This will load in the Pluto package and start a Pluto notebook session. Your browser will automatically be opened:
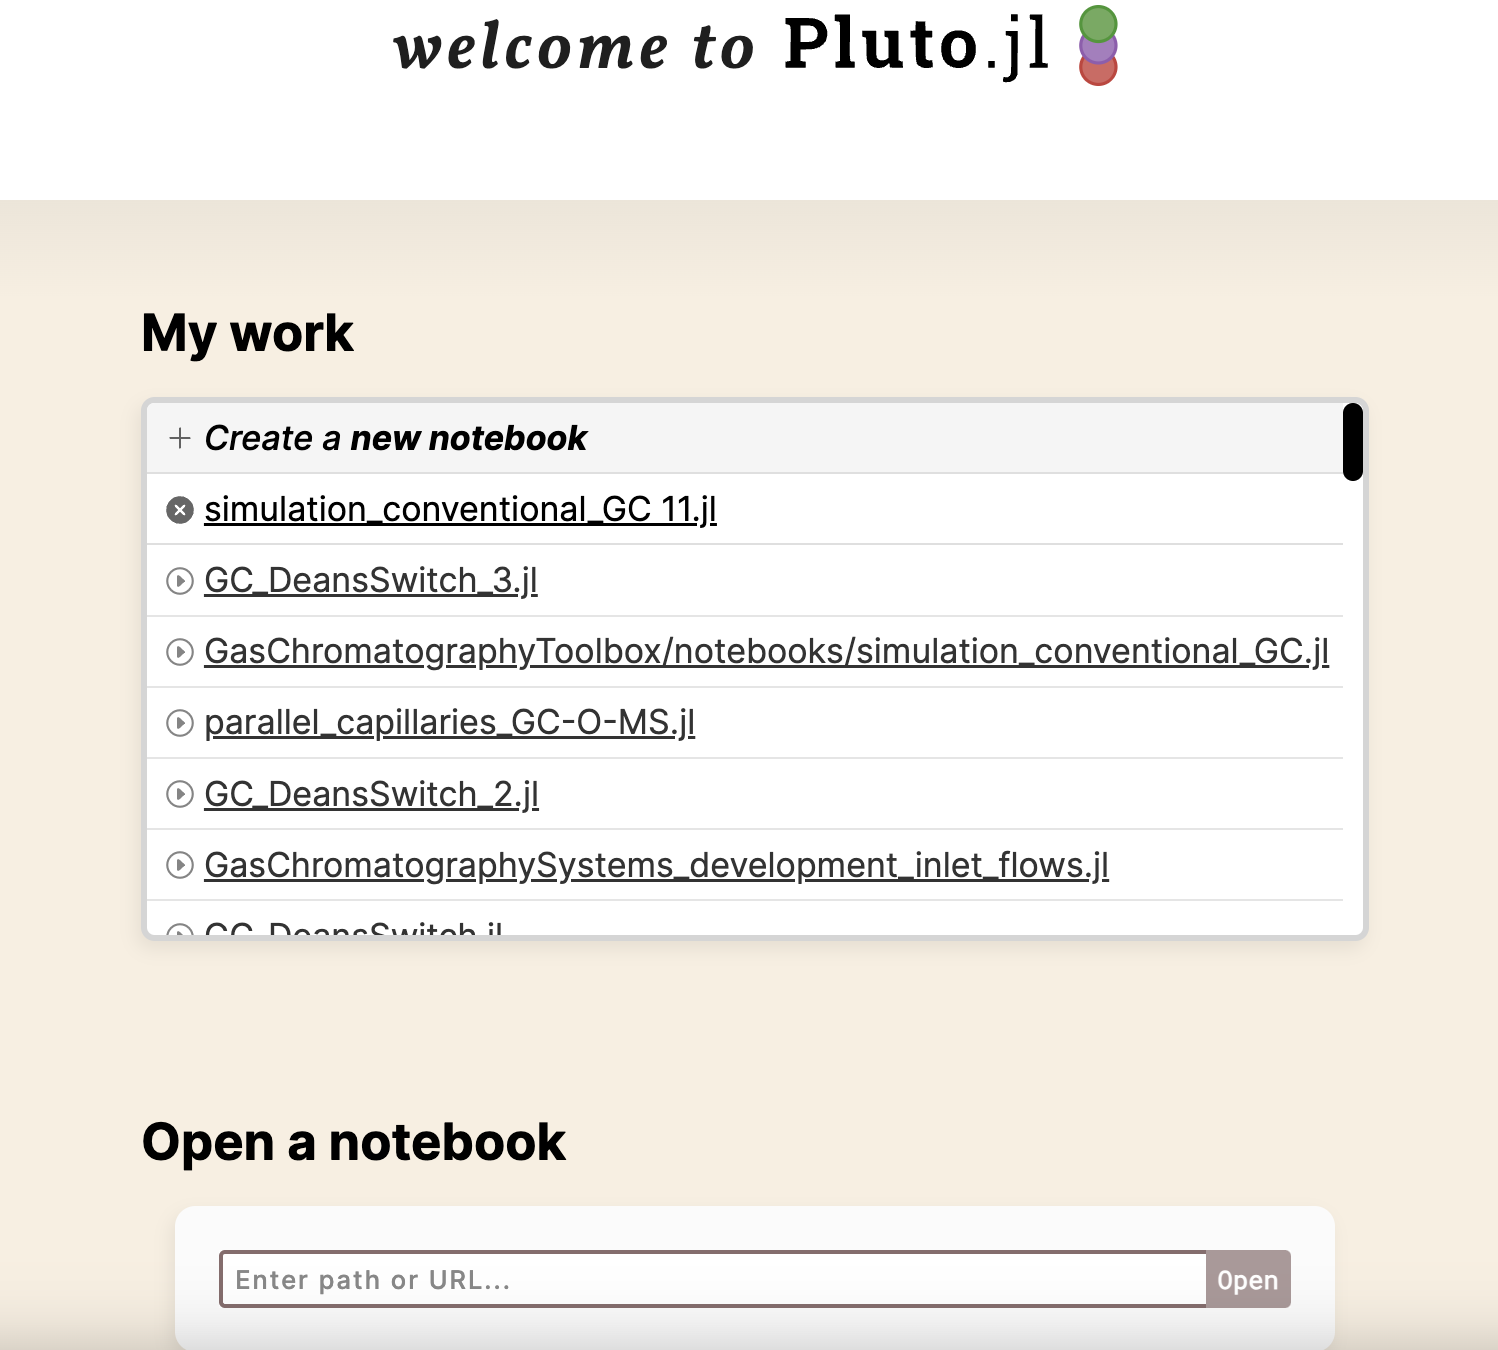
In the cell titled “Open a Notebook” you can enter the path (if you have downloaded it) or the URL to the notebook you want to open. For example this URL, if pasted into this cell, opens the notebook for the simulation of a conventional GC in the ‘Safe preview’ mode. Later, all ready used notebooks will be available through the “My work” list.
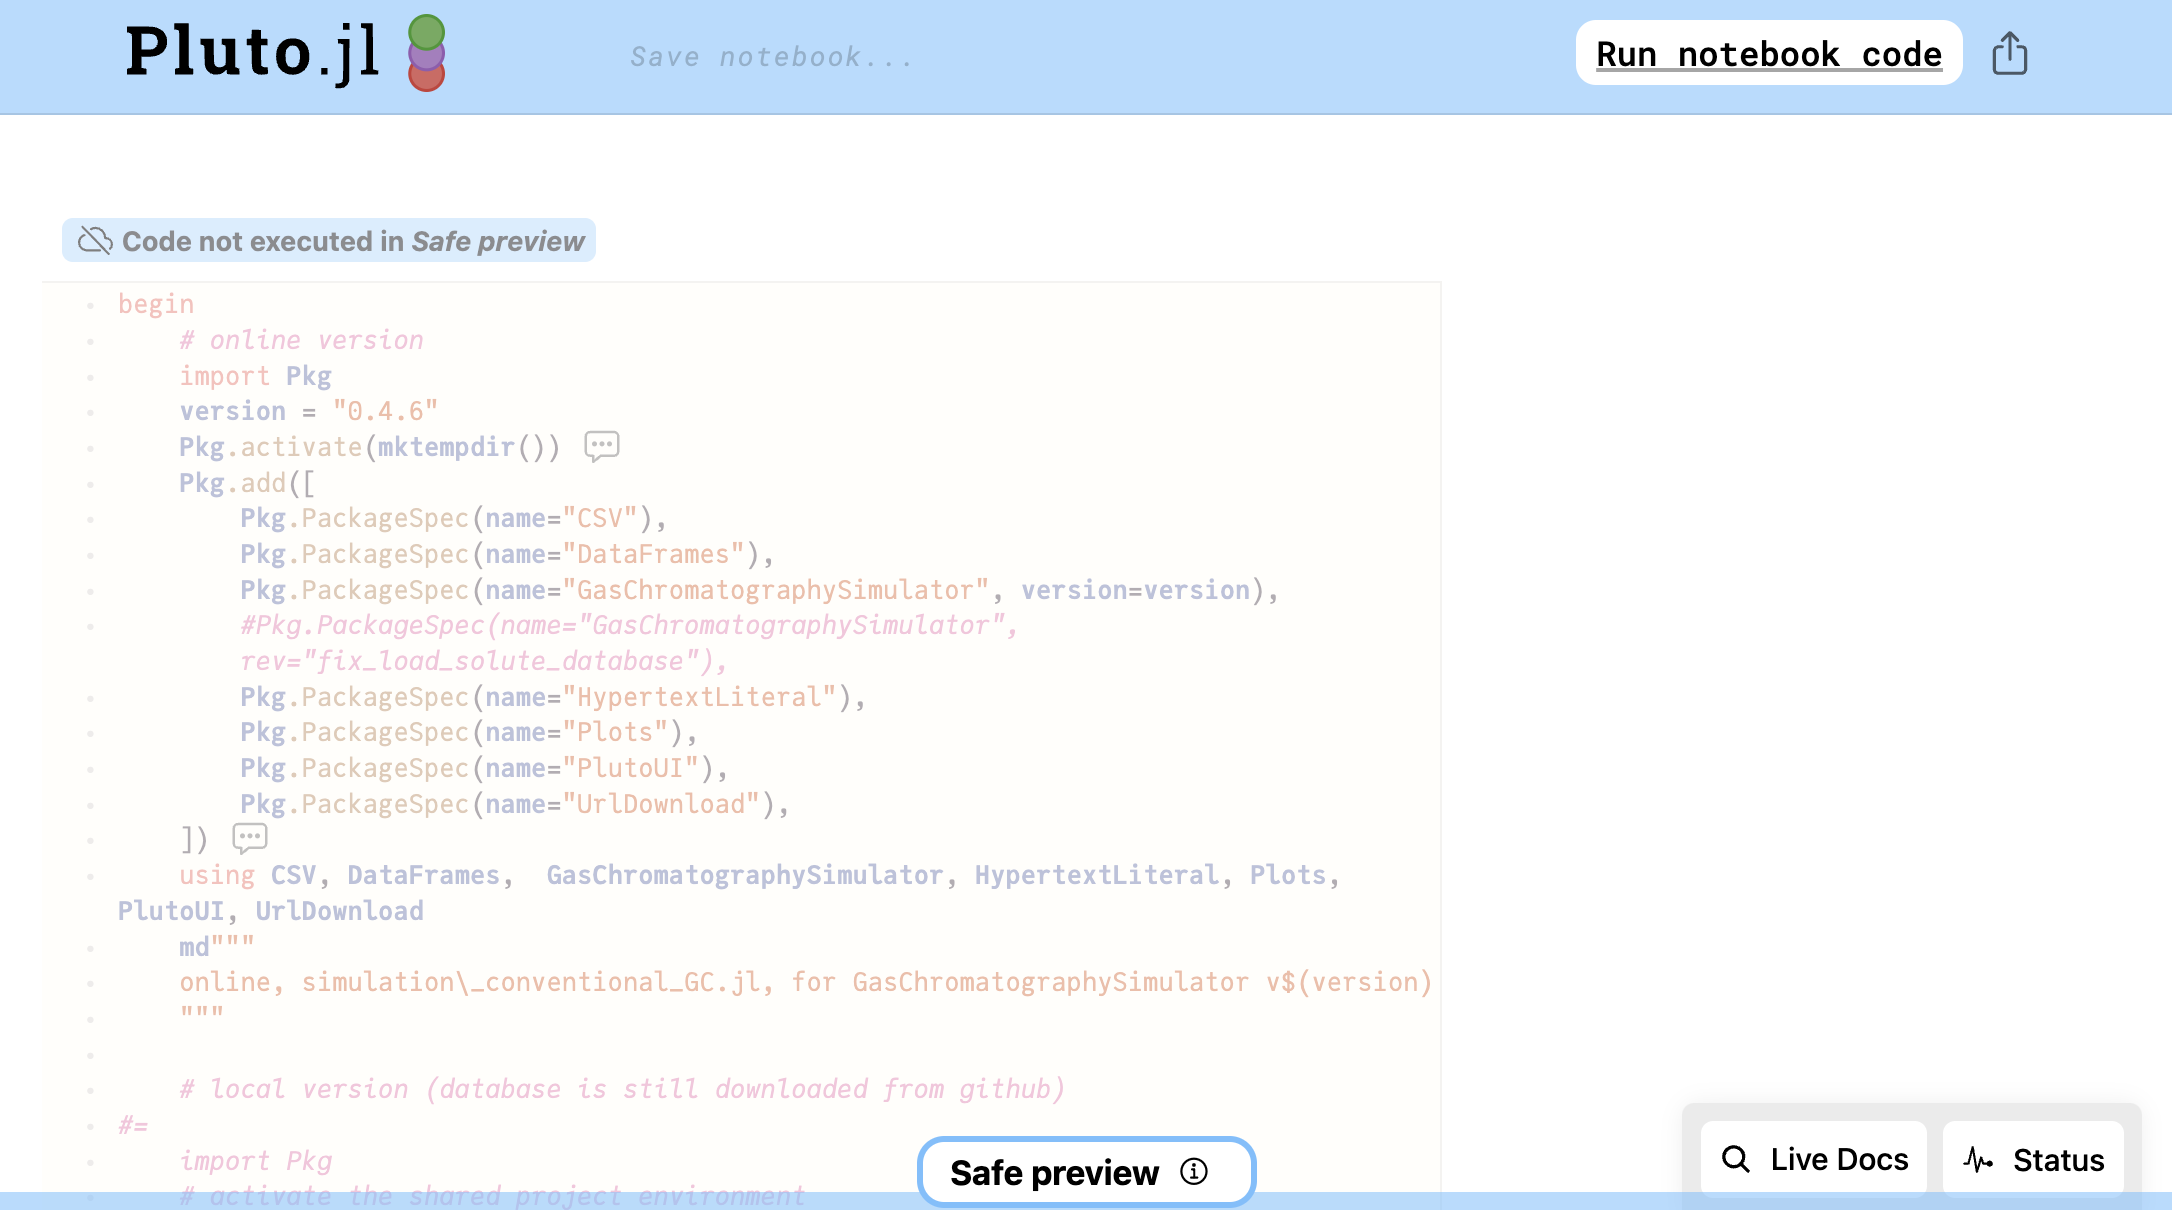
To finally run the notebook as an interactive session you have to click ‘Run notebook code’ in the upper right corner.
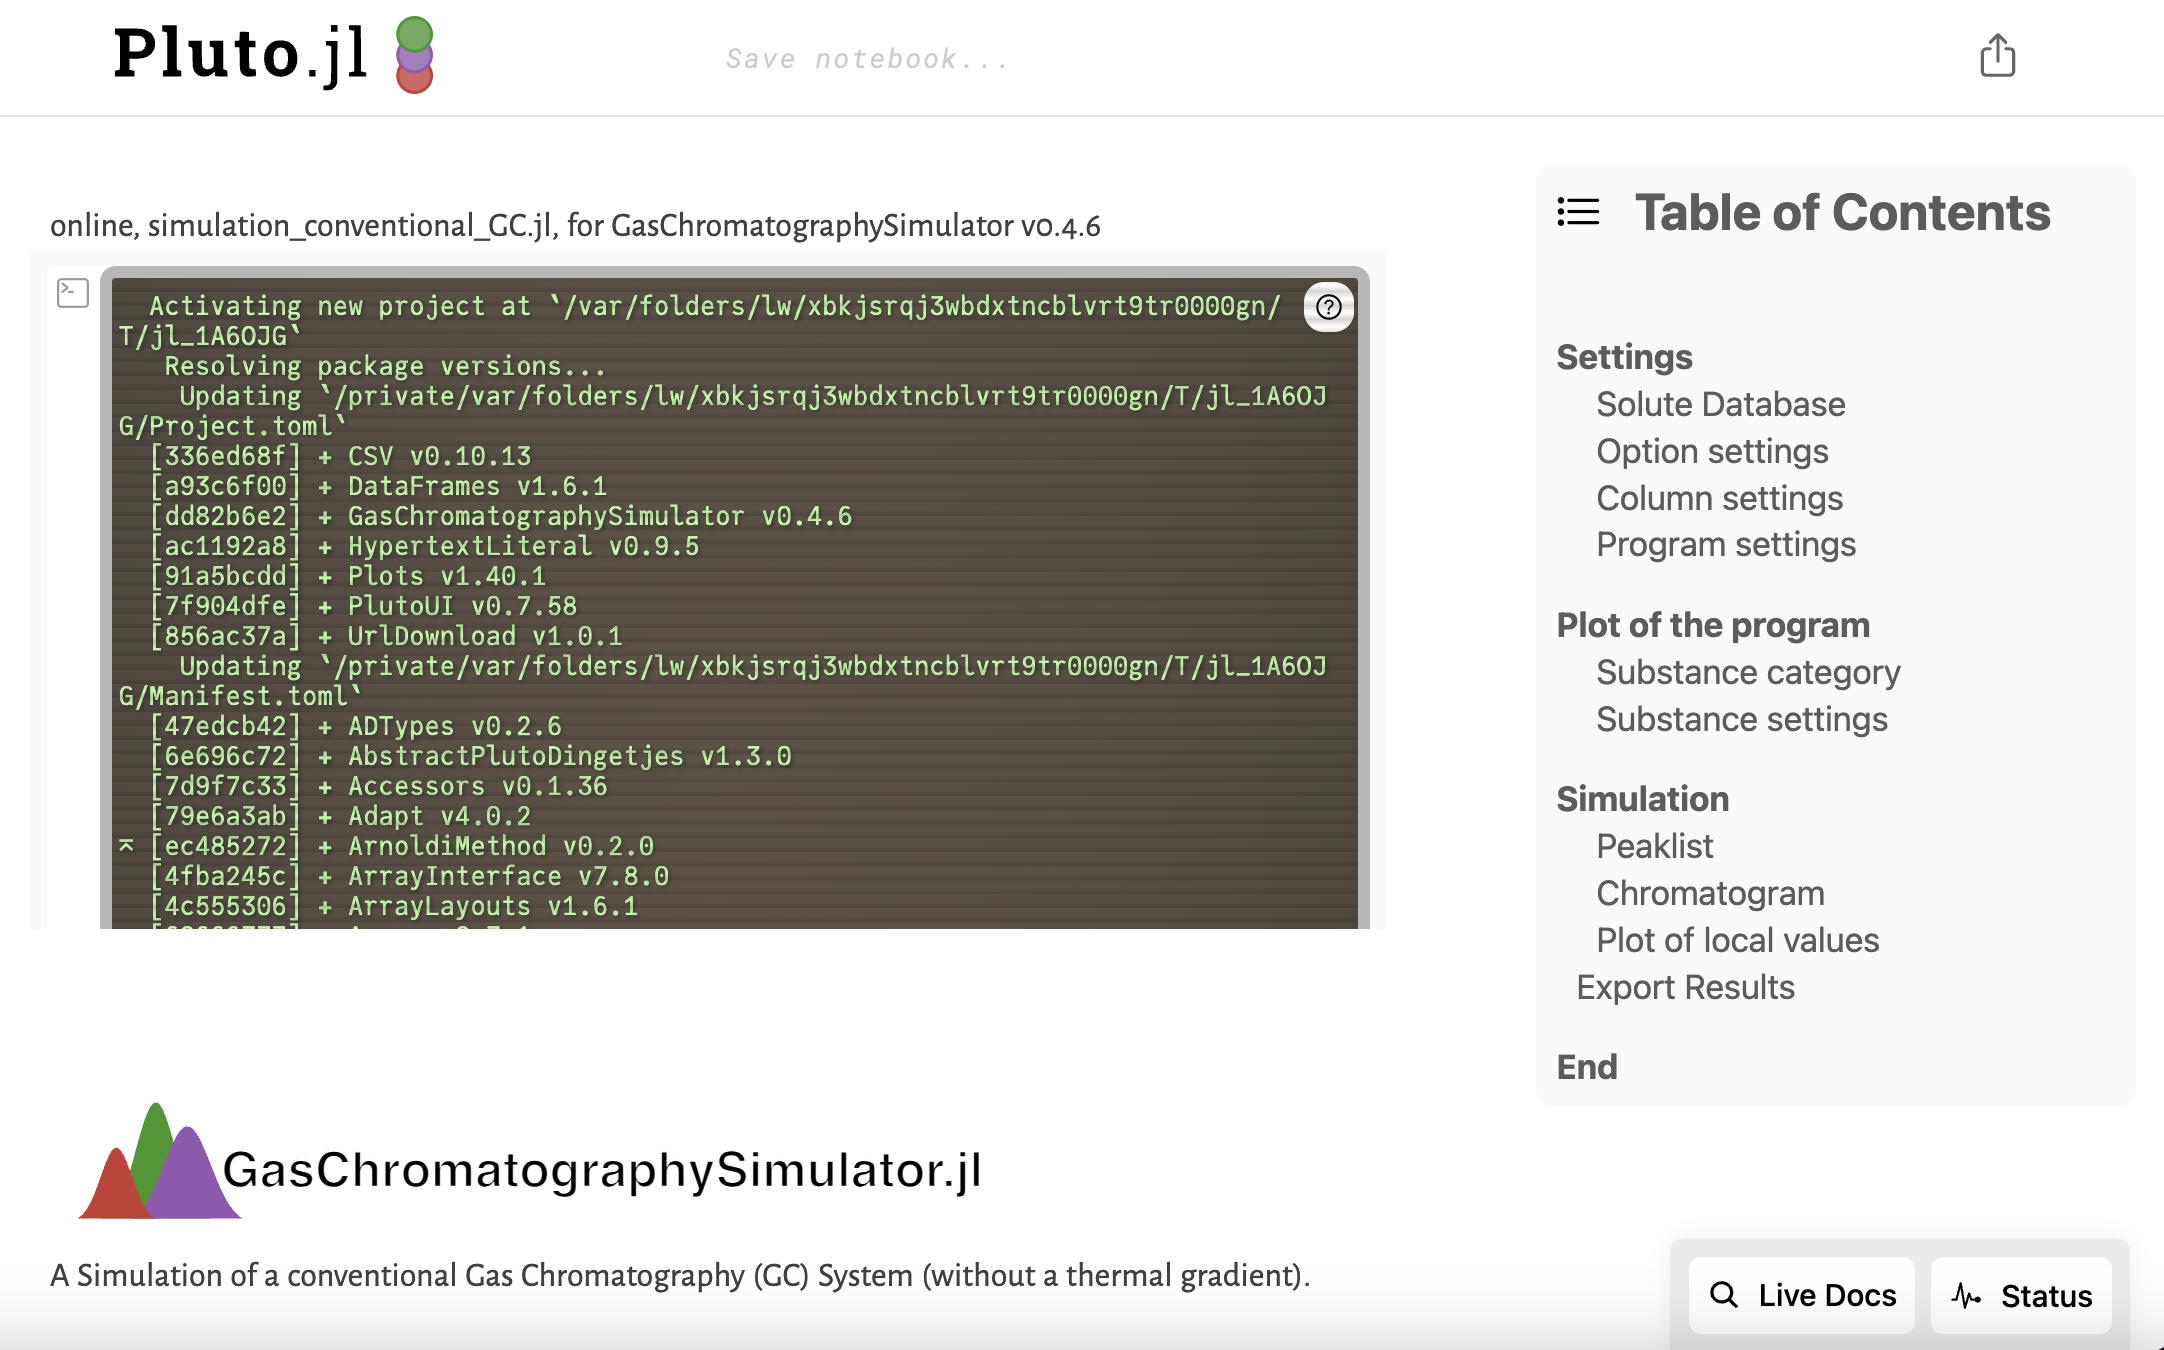
On the right side is the ‘Table of contents’, from where you can jump to the different sections, by clicking on the names of the sections.
With the button (rectangle with arrow) on the top right it is also possible to export the notebook as static html- or pdf-file or make a record to capture all changes to the notebook:

The Julia code, which is executed in the different cells can be viewed by clicking on crossed out eye symbol on the left to the cell:
The cells can be moved by using the shortcut Alt + Up/Down (or Option + Up/Down on Mac) or by drag and drop. This can be helpful to observe the changes made in one cell on the results shown in another cell.
Additional information about Pluto notebooks can found here.
In the next tutorial the notebook simulation_conventional_GC.jl will be shown and explained step by step.